Oct 25, 2012

Spiced Omelette with Red Radishes....for a lazy Sunday brunch!

Food definitely brings back a lot of long forgotten and childhood memories. Even a simple omelette :-)
I still remember the taste of the omelette that my dad prepared one school night . He was in the mood to get creative I guess, so he cracked up few eggs, added the usual onions, green chillies , salt and pepper and cut up few slices of Tomatoes and after pouring the entire egg mixture into a large frying pan, he placed the tomatoes on top. I noticed that he cooked the egg very slow on a low heat and slowly turned the rather huge omelette with one quick flip and cooked the other side for few minutes. That was the best omelette that I can ever remember, Juicy and slightly tangy from the tomatoes and so perfectly seasoned.
Another reason why I remember it well is because the omelette almost looked like a pizza with toppings to me :-) My mom often made individual omelettes for our breakfast (which was super yummy btw) , but a huge omelette that looked like a pizza was new to us and me and my sis loved it!

Another 'omelette' memory I want to share was when I started working at this MNC in Bangalore,India. I often used to rush out of my hostel in the mornings without eating the breakfast that was provided to catch my bus (Typical!!) And by the time I reach office I would be starving. Now our office had some beautiful canteens with all kinds of yummy food, starting from our classic simple breakfast items like Idly, dosa, vada , puri...yumm!! to international style food which was omelettes, toast and butter, French toast , fruit salads blah blah...oh I'm hungry now!
And the most priced and sought after breakfast item was the Omelette  ;-) Anyway, I would happily wait in queue , watching the theater cooking, where one guy would break two eggs, add some finely chopped red onions, green chillies, diced tomatoes, cilantro , white pepper and salt, whip it up nicely and hand it over to the guy who would fry it in front of you. And to watch him was like watching a magic show or something like that. He would pour the entire egg batter (lets call it that) into the pan, cover and cook it for few minutes and then just make a swishing movement with his hand and the entire omellete would just flip out of the pan , turn around and land in the pan...I mean WOW , could you envision that! I could never do that with a big omelette , it would just fall into pieces on the floor if I tried that, I would feel lucky if atleast a small piece landed in my pan :-)
He would then place the whole omlette on our plate and I would happily take it, take 2 slices of toast, some ketchup and butter , sometimes even some jam , fork and knife and happily gorge down the whole thing! Bliss!!
Now last Sunday morning we woke up at 10:30am or something and I wasn't in the mood to make some elaborate breakfast, and the easiest and quickest option was an Omelette. So with my tummy grumbling away, I enter the kitchen and get this crazy idea to make an omelette with red radish in it. I had a whole bag of fresh red radishes and was planning on making something with it for lunch. So I go ahead and repeat the same things my dad did and instead of Tomatoes , I added Red Radishes. Aren't they simply pretty!! :-)
Well actually I added the radish in the egg batter itself, herbed it up with freshly chopped Corriander leaves and spiced it up with a little Cumin powder, Turmeric powder and black pepper powder. Double Bliss! :-)
Oh and it was raining outside that day, so this was a perfect lazy Sunday brunch with a cup of piping hot masala chai...should I say Bliss again?? :-)

The Omelette was juicy and so so flavorful. I could just eat it like that, without the toast or anything. Even my lil' guy ate up a few mouthfulls , a big deal in his case :-)
The radishes cook very well if sliced thinly and they add a mild crunch and a mild peppery flavor. The cilantro elevates the flavor to another level and the mild hint of spices all blends together really well in this egg preparation. This recipe is a keeper, I tell you!

Spiced Omlette with Red Radishes Recipe
You'll need
Eggs - 2 large
Red Onion (chopped finely) - 1/4 of a whole Onion or as per preference
Green chillies (thinly sliced) - 1 or 2
Red Radishes (Thinly sliced) - 3-4 or more
Corriander leaves - a good handful (chopped finely)
Turmeric powder - 1/4 tsp
Cumin powder - 1/4 tsp
Salt - to taste
Pepper powder (optional) - a pinch
Oil or butter - 1/2 tblsp (I just used spray-on Canola oil)

Directions:
1. Crack the egss and beat them with a fork or a whisk for few minutes, until they look smooth and has slightly increased in volume.
2. Add all the other ingredients and slowly mix them well.
3. Heat your skillet or non-stick pan and heat the oil/butter.
4. Reduce the heat to medium-low and pour the egg mixture and cover and cook for 2 minutes or until the omelette has slightly set and is not runny. (evenly space out the radishes and onions if you like)
5. The omelette would have puffed up when you open the lid and then gently lift it and turn it to the other side and again cook for 1 minute.
6. Serve hot with toast ! :-)

Did you know ??
1. Even with just 1 egg you can make a thick omlette if you whisk the egg well , incorporating some air into it and then cover and cook it. (For this dish you may increase the number of eggs if you prefer. I got a rather thick omlette which was more than enough for us. )
2. Cooking eggs on a low flame allows it to cook slowly and evenly, almost mimicking an oven kind of heat transfer. It also reduces the egg from burning and getting brown on the bottom.
A perfect healthy breakfast/brunch dish , don't you think? Have a great day guys!

Don't forget to participate in my Giveaway (click here), it ends on Nov 1st!

-Manju

Oct 21, 2012

Giveaway - a Checkerboard Cake pan set !


*** This Giveaway is CLOSED , winners to be announced tonight (Nov 2 ,2012)***

GIVEAWAY...GIVEAWAY! As you may/may not know, my little blog turned 1 on Oct15th,2012 and what's so great in keeping all the joy to myself?
So to celebrate this happy occasion, I decided I would treat you with a beautiful gift.

I did not have a checkerboard cake pan set to make my own Checkerboard Cake (above pic), so I had to do some geometry and calculation with different sized bowls and pans in my kitchen to get the correct diameters for the concentric cake layers, else your checkerboard pattern will end up with different sized cubes (you get what I mean right?).
Although I'm very happy with the results I got, I feel it would be a tad easier if you had a cake pan set that'll easily help you develop your checkerboard pattern without all that calculation! :-)
So I want to gift you all a beautiful Wilton Checkerboard Cake pan set. The set includes 3 9" cake pans with a divider ring. Here's few pics of how the cake pan set looks and few ideas of what you could create :-) (Image source: Google)
If you have an Oven and can get hold of atleast a cake box mix then bake a cake using this Checkerboard Cake pan set, you are going to SURPRISE your family and guests big time and they'll be begging you to know the technique...Pssst : Don't tell them so fast ok! LOL!! :-)

Rules for entering the giveaway:
1. Leave a comment on the blog stating which cake flavors or color combo you would be doing when you get this Checkerboard Cake pan set.
2. Follow me on Facebook , its easy, just hit 'Like' and never miss another yummy post!

One lucky winner gets to be a proud owner of this artistic cake pan set.
NOTE: This giveaway is open to US residents only! If you have anyone in the US to whom you'd like to gift this cake pan set or can win one for you, come join in the fun! ( A valid US address is a must)

This giveaway will be closed on Nov 1st,2012 (midnight) and the winner will be announced on Nov 2nd, 2012.
So c'mon, all you need to do is leave a creative comment and Like my facebook page for a free entry to win!

*** This Giveaway is CLOSED , winners to be announced tonight (Nov 2 , 2012)***

-Manju

Oct 15, 2012

Citrus Checkerboard Cake with Roses to celebrate 1 year of blogging !!

Hello there, I'm back with a bang...well atleast for today  ;-) Where do I begin you all?....My little blog turned 1 year old today, yaaayyyy! First of all Thank you, a big heartfelt Thank you, as its because of you all that I have been able to reach this milestone.
On this happy occasion I present to you a "CCC"....read on to know more :-)
Well first I wanted to share with you how MED came into being and its journey until now...Long 'short story' ahead, are you ready?? :-)
I used to take photographs of the food I cooked/ate ever since I went to college , mainly to share with my parents, who lived in Dubai at the time and I was in studying-living-working in India. So any dish I prepared or ate at some restaurant would be proudly presented with pictures to my parents. Who doesn't like to show off ? :-) 
I still remember this time of the year last year, when I had just decided to quit my job (in the middle of my maternity leave) as I couldn't bring myself to leave my then 3 month old at someone else's care and I honestly wanted a longer break :-) But I wanted some hobby to keep me connected and talking with other people. A few months earlier I had started posting some recipes at a common food forum called CookEatShare , but I wanted something that had 'my name' on it ;-) At that time I had created a photo album named Manju's Eating Delights on my personal facebook page to lure my friends into my new-found hobby and food photography and I just decided to keep the same name if I ever started a blog!

I was horrible at figuring out the template setup and page creation blah blah on Blogger (or just plain lazy you can say :-) ),  and I took the easy route, let Manish do all that stuff :-) I  had prepared PaalAppam with Potato Stew 
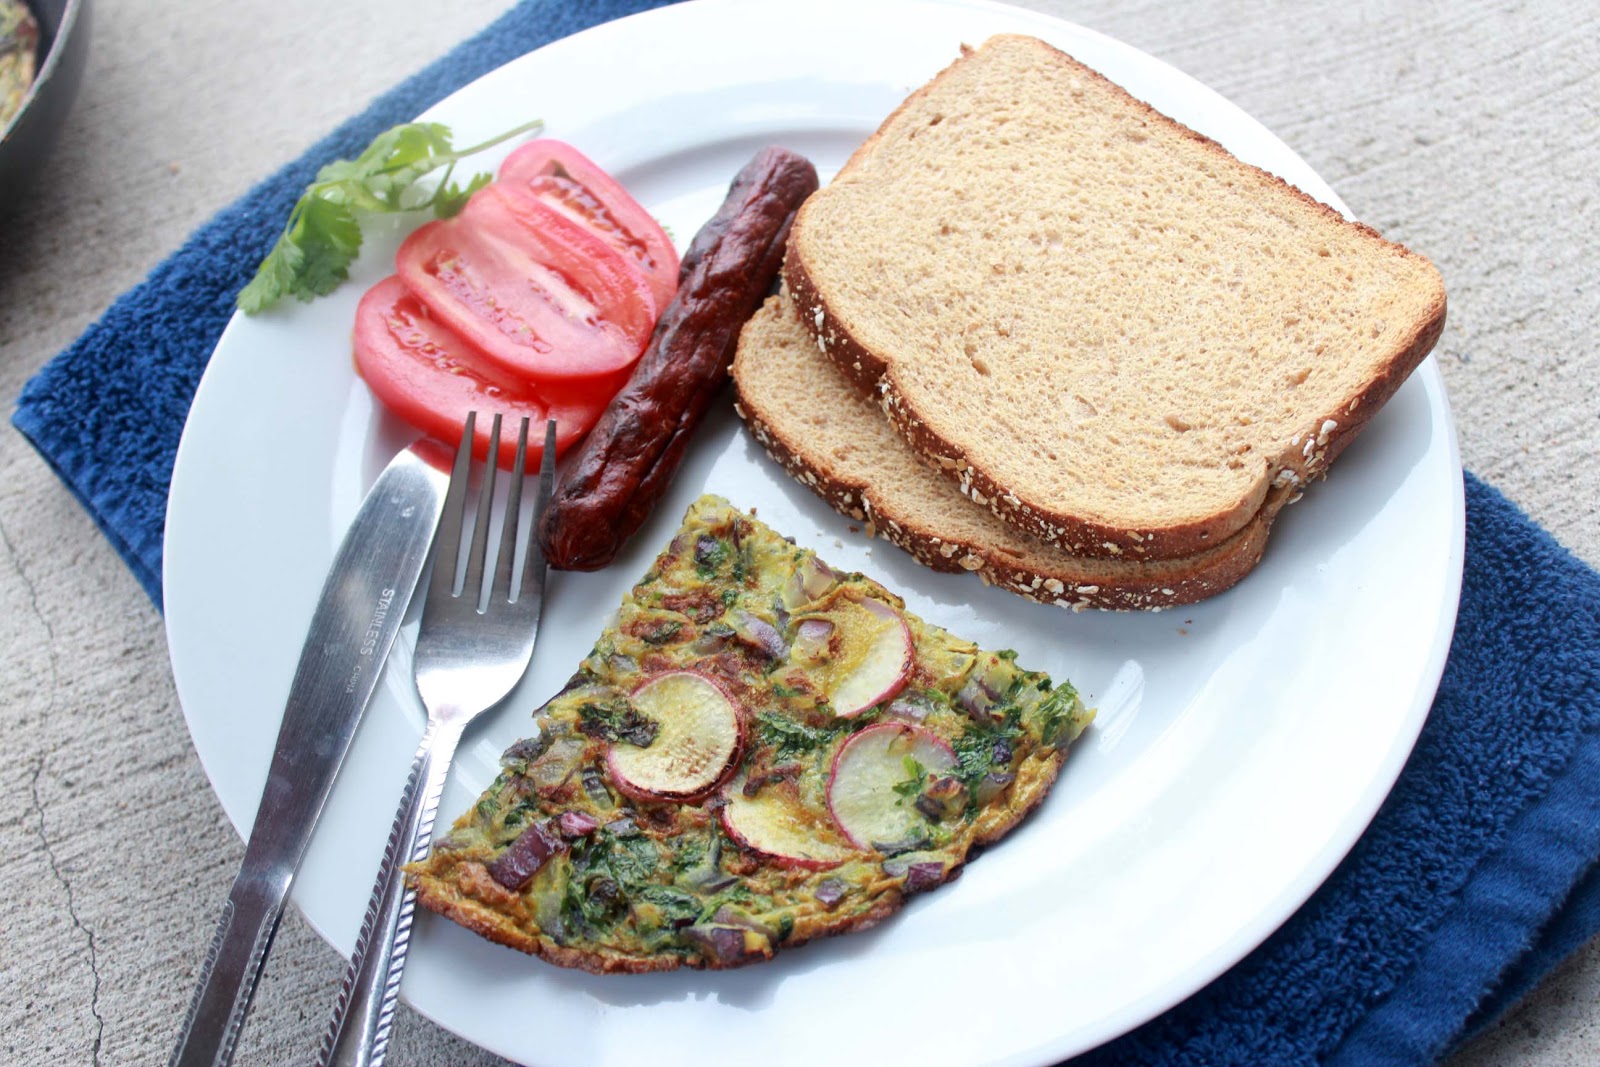
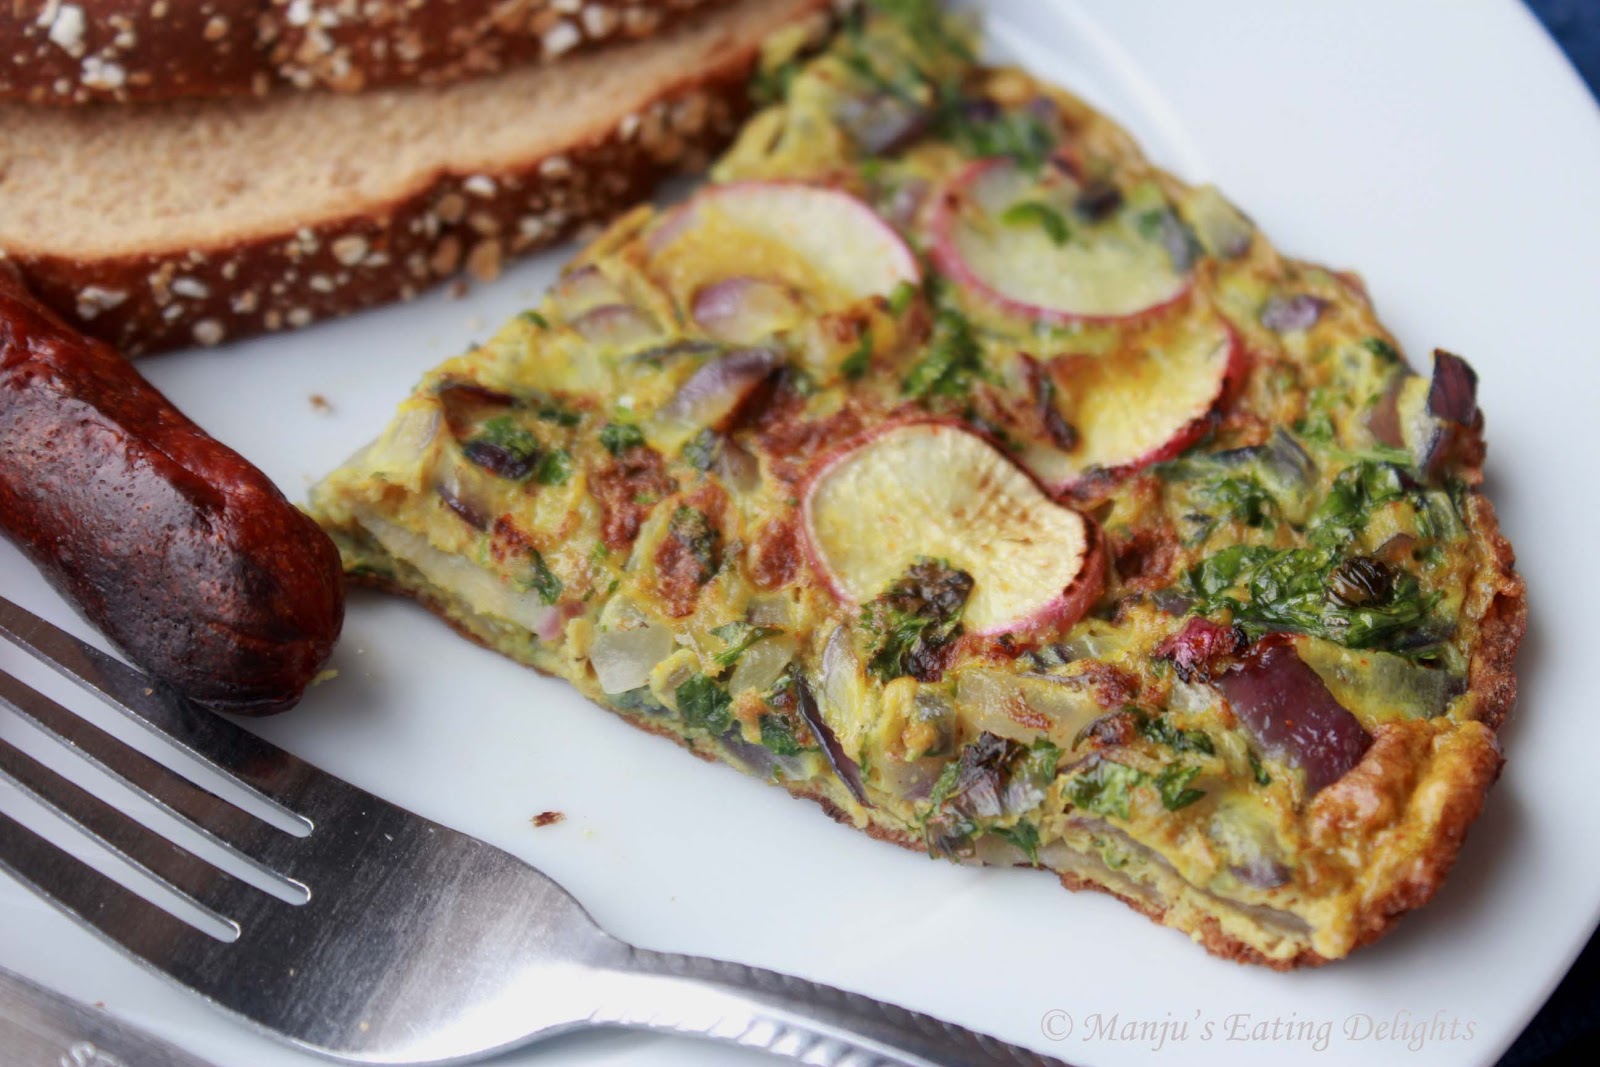
for breakfast that morning, for which I had taken few snaps (to send to my parents) and posted the same on the blog , evening of Oct 15th, 2011. Thus MED was born... drumrolls please!! :-P
Now I love to photograph food  in different ways and get more and more creative , and though I have lots more to learn, I'm really enjoying with each of my post :-)
Well can you imagine my excitement and happiness when I got my very first comment the very next day, someone who wished to stay Anonymous, was so kind enough to say "looks yummy" for my PaalAppam post. And without even me trying to hunt for other bloggers, several good hearted bloggers and friends started pouring in their comments, on my subsequent posts, welcoming me to the blogging world. I love you all so much, Muah!!! 

My Blog and I have grown so much in this past 1 year. I am back at my old job, I feel so full of energy and blogging has brought out a creative side in me that I never knew I had. I have learnt how to balance my life with my sweet baby and hubby, office work, homely chores and blogging!
The blog has close to 37500+ views, 119 followers and 150+ Facebook Likes and gets close to 200+ views daily (not bad for a beginner blogger), not to mention the lovely messages I get from friends, family, colleagues and other readers on various occasions.
And the reason for all this is you all...YOU are my inspiration and energy!! THANK YOU again!
So on this happy occasion I thought I would share a pretty pretty cake. A lovely Citrus Checkerboard Cake with Roses, lets call it a  "CCC' ;-) . What do you think?
I used a Vanilla Cake box mix ( well it was just taking up some of my pantry space :-) ). I divided the batter equally in half before adding the water  and substituted the 1 cup water with 1/2 cup Orange juice and 1/2 cup lemon juice respectively. The whole house smelled so citrus-ey while it baked  :-).

The first time I ever saw a chekerboard cake was at Raspberri Cupcakes blog and I loved it. And recently I've been totally hooked on to Amanda's blog and loved the tutorial she gave for her Rose cake and finally I just used both these ideas and since I had plenty of Oranges and Lemons at home, I used them for my cake flavor. Sometimes you need a change from chocolate and vanilla flavors right? :-)

Orange and Lemon Checkerboard cake with Roses
You'll need
For cake
Vanilla Cake box mix - 1 (I used Betty Crocker)
Eggs -  3
Vegetable oil - 1/2 cup
Freshly squeezed Orange juice - 1/2 cup
Orange zest - 1 tblsp
Freshly squeezed Lemon juice - 1/2 cup
Lemon zest - 1tblsp
Sugar - 1tblsp
Wiltons Orange colored food gel - as required
Wiltons Yellow colored food gel - as required

For Vanilla buttercream
Butter (Softened at Room temperature )- 2 sticks (16tblsp)
Confectioners sugar (powdered sugar) - 3-4 cups
Pure Vanilla extract - 1 tsp
Salt - a tiny pinch
Milk or heavy cream - 3-4 tblsp
Wiltons Orange colored food gel - as required
Wiltons Yellow colored food gel - as required
Wiltons Green colored food gel - as required (optional)

Directions 
For Cake
1. Preheat oven to 350F and grease two 8" round cake pans and keep aside.
2. Squeeze Orange juice and Lemon juice such that you get half cup of each and zest the Oranges and Lemons and keep aside. ( I had to use 2 oranges and 2 lemons).
3. As per the box cake instructions beat together the eggs and vegetable oil with the cake mix (without adding any water.)
4. Divide the batter equally into two separate bowls. (The batter should divide equally with 1cup+1.5tblsp each in each bowl)
5. Add the orange juice + orange zest into one bowl and beat it well using a hand mixer/electric mixer. Add some Orange colored food gel until the desired color is obtained.
6. Sweeten the lemon juice with 1 tblsp sugar. Add the juice and lemon zest to the other bowl with cake batter and beat well again. Add some Yellow colored food gel until the desired color is obtained.
7. Pour the Orange cake batter into the cake tin and bake for 22-25 mins until a toothick inserted in the cake come out clean.
8. Similarly bake the Lemon cake batter for 22-25 mins.
9. Once the cakes have cooled slightly, transfer to a wire rack and refrigerate until assembling.

For Vanilla buttercream
1. In a large mixing bowl, cream the softened butter for few minutes on low speed. ( Its highly important that the butter is softened at room temperature, it should not be melted)
2. Add the vanilla extract and salt and beat again.
3. Now add the confectioners sugar 1 cup at a time and mix well using a spatula or a paddle attachment (if you are using a kitchen aid mixer).
4. After adding about 3 cups of powdered sugar, add milk if necessary, depending on the consistency of the buttercream you are looking for and smoothen the buttercream by folding it gently yet firmly using the spatula. (To pipe the roses , I made the buttercream at a stiff consistency and added about 2-3 tblsp of milk to smoothen it out)
5. Add desired color to the buttercream using a toothpick (Any Gel food coloring is the best, as it does not add more fluid to the buttercream)
[ I made 2 batches of this buttercream frosting , reserved 1 cup aside , and divided the rest of the buttercream and colored it orange and yellow separately]

To assemble the Checkerboard Cake
1. Once the Orange and Lemon cakes are completely chilled, level them such that both cakes are of same height or thickness.
2. We need to cut the cakes into individual concentric circles vertically. As I've used an 8" inch cake, I used 2 glass bowls of 4" and 6" diameters (If you have a cookie cutter with appropriate size measurements that's the best choice)
As shown in the pic, I have cut out the 4 inch size, and then using the other 6" glass bowl I cut out another layer around this 4" circle.
3. Keep the Orange cake outer layer on your cake stand/board, apply a light coating of buttercream (which was reserved) around the inner edges of the cake , then carefully place the Lemon cake  into the inside. Again apply some buttercream and place the Orange cake (4" part) inside and complete the cake (as shown)
4. Repeat the same for the Other cake with Lemon, Orange and Lemon and apply a light coating of buttercream over the first layer of cake and carefully place this second layer on top. (Or you can directly do the second layer over the first layer , which is how I did)
5. Apply a crumb coating with slightly loosened (with milk) buttercream over the whole cake.

To pipe the Roses
1. Attach the 1M piping tip to the tip of your piping bag or Ziploc bag.
2. Add the Orange colored buttercream to one half of the bag and the Yellow colored buttercream to the other half.
3. Squeeze out some buttercream until you see both the colors blended together.
4. Start from the sides of the cake, Keep your tip in the center and carefully and swiftly do a Swirl starting from inside to out, until a Rose shape swirl is obtained. Continue the same all around the edge and over the cake.
5. There will be gaps in between the rose swirls, which you may fill with same buttercream by simply piping small stars or dots using the 1M tip, else like I did, color some remaining white buttercream with Green gel and using a Leaf tip, pipe leaves in the gaps :-)
Few useful suggestions and tips:
1. The Lemon cake is really lemony and if you prefer a milder lemon taste, reduce the quantity of fresh lemon juice to 1/4 cup and add 1/4 cup water to obtain 1/2 cup of fluid. Sweeten with 1 tblsp sugar.
2. The cake is pretty moist and crumbly, so be careful while arranging the concentric patterns. A denser cake is preferable for such patterns (just my opinion)
3. DO NOT beat your buttercream with a whisk attachment , trust me, I learnt it the hard way. Use a spatula or wodden spoon to mix together the confectioners sugar with the butter. It results in a creamier buttrecream with less air bubbles in it.
The cake tasted very fruity and had a beautiful citrus flavor. I felt the lemon cake was too lemony for us, so next time I may reduce the amount of Lemon juice, but it went very well with the sweet buttercream. I took almost the entire cake to my office and shared with all my colleagues. They loved it and my boss gave me a double thumbs up!!! Yippeeee!!

P.S : for those who are wondering, I've NEVER taken a Cake Baking or Cake decoration class ever! I just don't have the time for that right now.
Also, I do all of the design and setup on the blog now, and still learning! :-)

And a special thanks to my hubby dear and beautiful baby boy for bearing with all my craziness while preparing for a post, starting from making the dish, styling, photographing , blogging etc etc :-)
And to my family , friends and colleagues for their constant support!
Cake anyone??? :-)
And so as MED crosses a year, let's all wait for what all is coming up next right??? What about a Giveaway? :-) Sounds interesting?....all in my next post! Stay tuned Amigos!!!

(Oct 21st, 2012) Update:  Please check here for the Giveaway information. Hope you win! :-)

-Manju