Showing posts with label whipped cream. Show all posts

Dec 31, 2014

My Cake journey in 2014


I wanted to make sure I do a last post for the year, so though I couldn't manage writing up a recipe I'll share a lot of sweet treats with you that I created over the year and Wish you all a very fruitful, healthy, prosperous and Happy New Year 2015! May all your dreams come true...

I might have mentioned this a zillion times before but I will say it again, I love Cakes. My mom was the first person who baked cakes in our entire family and though she made simple cakes, they were a family favorite and I used to be fantasized each time she used to bake. I still remember a Chocolate cake that she baked which kinda overflowed while baking due to too much batter in the pan but that formed a pudding like topping over the cake...it was the bestest Chocolate Cake I have ever eaten till now ;-)
Although I was certain I might bake some day when I grew older I never thought I would actually make so many varieties of themed cakes and 3D structured cakes or try my hand at so many flavors, techniques and tiers of cakes!! 

I never knew that Baking, Designing and Decorating Cakes would be my passion. I can just dream of cakes, all day long. 
This year if there's anything I'm most proud about then it would be the type of cakes I got to make and I'm proud of them all :-)  I'm even more thankful to my family and friends who give me all kinds of opportunities to pursue my passion and who trusts me with baking cakes for their special occasions.

A Celebration is never complete without Cake, so in that sense I've celebrated a lot this year...Lol! So I thought I would share them all with you...yes, all the cakes I baked this year. Most of them have been shared on the blog except for a few, which I will share shortly.

The Celebration Cakes I baked this year:

Patterned Swiss Roll Cake for Valentine's Day
Flavor: Vanilla Sponge Cake with Whipped cream filling and fresh Pineapple chunks

Surprise B'day cake for a dear friend
Flavor: Chocolate Cake with Orange Marmalade cream
Decorated with Chocolate cigarettes and a fun Chantilly design using chocolate ganache


B'day Cake for none other than my hubs, Manish. 
Flavor: Tres Leches Cake with a Lychee Mousse filling topped with Whipped Cream. 
Decorated with Chocolate Lace collar, Maraschino cherries, chocolate cutouts and chocolate shards


A get-together with friends demanded a sweet treat and that too when all of them were pregnant at the same time!! So I baked these mini cakes and decorated them all in different styles. Each got one and they were all so amused.
Flavor: Chocolate Cake with Chocolate Buttercream


The year cannot end without me baking my favorite cake: Christmas Fruit Cake
The dry fruits n nuts used in this cake had been soaking in Rum for past 2 yrs ;-) Boooozy!!


The Theme based Cakes baked over the year:

My first ever 3D cake....the cake my little 3 year old loves the most even now, his Dinosaur Cake for his roaaring Dino theme b'day party! 
Flavor: Rich Chocolate Cake (with a mild mocha flavor) with Chocolate chips and Vanilla Buttercream

A Spiderman themed party calls for a Spiderman themed cake for sweet lil'Avyay who turned 3, Avyay is Appu's best bud from 6months old!
Flavor: Black and white:  alternating flavors of Vanilla and Chocolate Cake
I had later added a number 3 cutout in the centre.

A gorgeous Frozen themed Cake baked for our sweet lil'Gia's 1st birthday. We know the little munchkin since she was just few months old and it's been a pleasure to see her grow. 
Flavor: Butter Vanilla with cake slices in alternating shades of blue and white.
Decorated with Blue Ombre rosettes on bottom tier to match the white rosette backdrop and top tier in a Quilt pattern with Blue beads over fondant.


A Construction themed cake with the b'day boys favorite construction toys in a busy construction site!
Flavor: Rich Chocolate Cake with Cream Cheese filling, covered in Chocolate Ganache
The decorations included fondant cutouts, crushed brownie bites, graham crackers, buttercream grass and lots of chocolates. The Construction Cone shaped candles were a fun addition to the cake. 


Aditi loves strawberry cakes and is a die-hard fan of the cartoon Callilou. So that was the theme for her 4th b'day cake
Flavor: Strawberry cake with fresh strawberries with creamy Vanilla Buttercream frosting.
The sides of the cake had a Train cutout and also an aeroplane, some alphabets and numbers, making it a very fun cake.


A Bollywood themed birthday cake for a milestone birthday. As Rajeev turned 40, his cake shined with the bling from the dico ball.
Flavor: Top Tier: Butter Vanilla Cake with Chocolate Buttercream
                  Bottom Tier: Rich Chocolate Ckae with Chocolate buttercream
The cake was coated with Dark Chocolate Ganache and covered with my homemade Marshmallow fondant and each gold bead was stuck by hand, even the Paisleys are hand cut.


A fun and bright cake for a fun little boy, Sanav. My son Appu and Sanav are best buds too and he can never go by any weekend without meeting his favorite Sanav bhaiyya.  Sanav is crazy about Thomas the Train and that was the theme for his cake as he turned 4 this year.
Flavor: Rich Chocolate Cake with Chocolate Buttercream


Our good friends tied the knot this year. The wedding called for an elegant tiered wedding cake. This was the first time I made Red fondant, used Gold lustre dust and even worked with Royal icing and I loved the entire experience. It was also my first 3 tiered cake.
Flavor: Bottom Tier: Chocolate Cake with Vanilla Buttercream
                   Middle Tier: Red Velvet Cake with Vanilla Buttecream
                   Top Tier: White Wedding Cake with fresh Mango Buttercream


I realized I had some drawing skills after I made this cake for a program being conducted by our local regional association. The deco on the cake was based on the winning logo that was drawn by a little girl for the logo competition at the program :)
A full Sheet cake all baked at home and decorated with colored gel icing.
Flavor: Rich Chocolate Cake with Vanilla Buttecream


Cupcakes: Themed and Celebration cupcakes

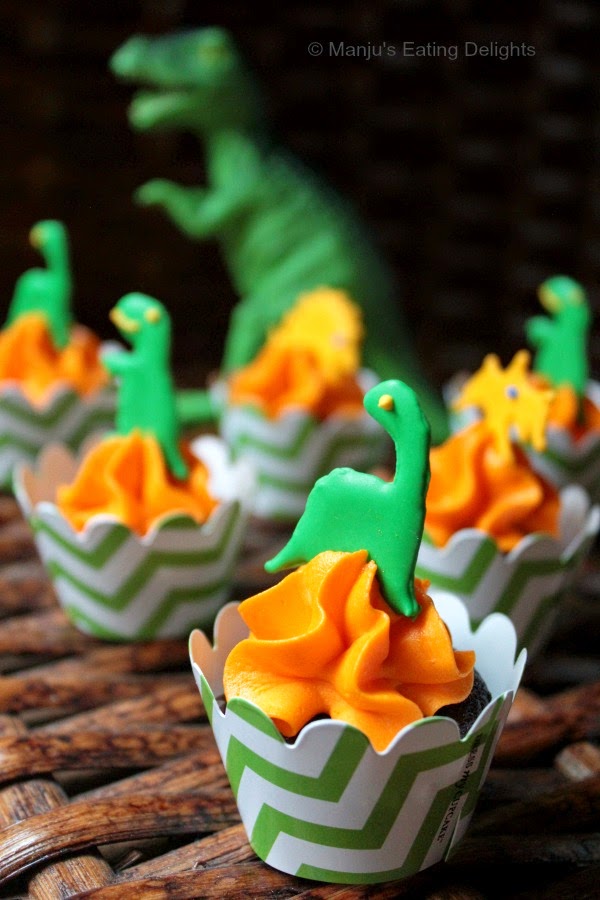
My first try at 2D royal Icing transfers started with my son's Dino themed Cupcakes. I made 4 different shaped dinos in green and yellow shades and placed them on top of the mini cupcakes I baked apart from the Dino bday cake for his 3rd b'day this year. It was a superb experience and an easy option of making cupcake toppers that both suits the theme and are sweet and edible :)
Cupcake Flavor: Rich Chocolate with Vanilla buttercream (colored orange) and royal Icing Dino topper
Another set of 2 D royal icing cupcake toppers went on these Frozen Themed cupcakes in Blue and Pink shade for a pretty Ruhi celebrating her 8th b'day. The kids were more crazy for the Olaf topped cupcakes. The olaf and snowflakes are made of Royal Icing.
Cupcake Flavor: Rich Chocolate with Vanilla Buttercream


I've always wanted to try making sugar flowers, so when the blog turned 3yrs I decided to give it a try. They came out perfect for my first try and my friends who got them were too amused to eat them :-) Pretty Chocolate Cupcakes with dual toned Buttecream roses!
Cupcake Flavor: Rich Chocolate with Vanilla Buttercream


Wanting to give a try at making filled Cupcakes, I made these simple Vanilla Cupcakes and filled them with a sweet and tart mixed berry compote. A small border of vanilla buttecream was all it needed to make these cupcakes pop!
Cupcake Flavor: Vanilla with Mixed Berry compote filling and Vanilla Buttercream


I missed out on a couple of occasions to make cakes, like my own B'day and our Wedding Anniversary etc, but I'm still happy with what I've accomplished this year. I have tons more to learn and want to try my hand at lot more techniques next year and if I master them then maybe do a few tutorials to help out more of you who's yearning to learn :-) 

So with these sweet treats I sign off this year.....Hope you all have a fun time filled with new hope, aspirations and dreams for the coming year. I sure do :-)

Once again here's my family wishing you all a Very Happy New Year 2015!!

-Manju

Apr 3, 2014

Tres leches Cake with Lychee Mousse filling and Chocolate Lace collar - for my Birthday boy!


Let me not even start with my usual rants about how busy days are going by and how I have treated my blog like an after-thought with very few posts of late. But truth is, I am sort of really really busy these days and all for good reasons and hopefully I can take a breather next month and share all the happenings with pride :-D  
But for today though I know it's April, I want to talk about March ...specially March 29th!! 

March is always a lovely month for us. It brings hope of spring after the dreadfull lull of winter, it's the month of so many of my favorite peoples b'days, my sis-in-law, bro-in-law and my hubbys. March 29th is doubly special coz it's both my hubby's b'day and also marks the anniversary of us moving into our new home and this year it was the 1st anniversary. Little things in life can hold so much importance.

Last year my parents were here and we had a lovely housewarming celebration on March 29th as we moved into our new home and also did a quick b'day cake cutting in between all the hussle and bussle of shifting. It all feels like yesterday. I totally miss my parents not being here this year.

This year I wanted Manish's b'day to be very memorable and also celebrate the 1st anniversary of our new house. A surprise lunch with friends, cake cutting and bowling was my initial plan. Though some of the plans changed over the course of the day, in all it was beautiful day, weather wise and celebration wise and we all had a blast!


As usual I decided to make his cake and this time I let him choose the flavor. I find making my own b'day cake quite weird so haven't done it yet, but you never know...lol! But for Manish and my lil'Appu I'm always game at making their b'day cakes ;-)


He chose the yummy Mexican cake flavor Tres Leches (three milks cake) and wanted Lychee fruit in it, so I decided a creamy Lychee mousse would be great. I initially planned to make just 1 sponge cake and make two layers filled with lychee mousse, but the cake looked short ;-) so I went and made one more sponge cake and trimmed it to just get 1 extra layer and the scraps were all happily eaten by the two boys at home (father n son)...so in total I got 3 layers for the final cake and I had just the right amount of lychee mouse for the filling and whipped cream to frost around the cake.


After the filling and frosting, my mind was quite blank as to how to finally decorate the cake. I saw a bag of candy melts in my pantry and thought why not try a chocolate collar around the cake. I have seen this decoration style in many party cakes and wanted to give it a try. 


And I love lace patterns, so a lace collar was what was in mind. I cut out a parchment paper that would exactly wrap around the side of the cake and made it slightly taller than the cake so that the collar would come above the cake level like a fence and made some patterns and wrapped it around the cake. Its a quick, easy and yet striking decoration idea.


And lastly I placed some chocolate shavings and chocolate triangle shapes in the centre and some whipped cream swirls topped with marachino cherries for a final touch and burst of color.


Cake cutting went great with friends singing Happy Birthday and kids waiting to attack at the chocolate collar....hehe. Lil'Appu always enjoys cake cutting. For some reason his face looks gloomy in this pic but he was a happy chap all throughout.

And don't you think my dress matches with the cake, purely coincidental but I loved it...haha!!


The cake was super moist and yummm and everyone devoured it and even came for second helpings. 


For the filling which was Lychee mousse, I used canned Lychee (easily available at all Asian or Indian grocery stores) . But I felt the Lychee mousse flavor wasn't so much pronounced, I had used only 1 can of lychee, I think 2 cans would have given a better flavor. 


Tres leches Cake with Lychee mousse filling and Chocolate Lace collar

Tres Leches cake is best prepared one day ahead for the cake to rest overnight and the milks to soak up the cake and make it moist and creamy. 
Assembling and frosting can be done the next day. So the recipe is explained in the way I made this cake.

** I baked two sponge cakes and made three layers with them. The recipe below is for ONE sponge cake.


You'll need

For Sponge Cake
Eggs (at room temperature) - 6
Granulated Sugar - 1 cup
Cake Flour - 1 cup
Baking powder - 1 tsp
Vanilla extract - 1 tsp
Water - 1 tblsp

For Three Milks syrup

Sweetened Condensed Milk - 1 can (14 oz)
Evaporated Milk - 1 can (12 oz) 
Heavy cream – 1 cup 

For Lychee Mousse
Canned Lychee, fruit only - 2 cans (I used Aroy-D brand)
Heavy whipping cream - 1/2 cup
Powdered sugar - 4 tblsp
Vanilla extract - 1 tsp
Gelatin - 1 pack (2 1/4 tsp)
Water - 3 tblsp

For whipped cream outer frosting

Heavy whipping cream - 1 cup
Powdered Sugar - 4 tblsp
Vanilla extract - 1 tsp

Directions

For Sponge Cake
1. Pre-heat oven to 350F. Butter and grease a 9" round baking pan.
2. Crack the eggs into the bowl of your mixer and start beating them on medium-high speed for 5 mins.
3. Slowly add in the sugar and continue to beat on high for another 5-7 mins until it looks smooth, pale yellow and has doubled in volume.
4. Add in vanilla extract and mix to combine.
5. Sift together the cake flour and baking powder in a separate bowl (atleast sift 2 times) and slowly add it into the egg-sugar mixture, very little at a time and slowly fold in it and incorporate it into the batter. 
5. Finally add the 1 tblsp water and mix until well combined. 
6. Pour into the greased baking pan and bake for 25-30mins. (a toothpick inserted into the cake should come clean)
7. Once out from oven, let it rest in the cake pan for 10 mins and then invert it onto a cooling rack and let it cool down completely.

Prepare Three milks Syrup

Into a large bowl, combine heavy cream, condensed milk and evaporated milk and stir well. Heat it in the microwave or on stove-top until it just starts to bubble (do not boil). Let it cool down completely.

Prepare Lychee Mousse

1. Strain the Lychee fruit from its syrup and puree only the Lychee fruit.
2. Beat the whipping cream on high speed until soft peaks form, add the powdered sugar and vanilla extract and beat until slightly stiff peaks form and refrigerate the cream
3. In a bowl add 3 tblsp of water and add the gelatin powder and let it rest.
4. Heat the lychee puree until just warm to touch and add the gelatin to the puree and mix until fully dissolved. 
5. Add the cream little by little to the lychee puree and fold to combine.

Prepare whipped cream frosting

Beat the whipping cream on high speed until soft peaks form, add the powdered sugar and vanilla extract and beat until stiff peaks form and refrigerate the cream. Do not overbeat.

Assembly of the Cake

Day 1
Make the sponge cake and the the three milks syrup. Refrigerate for 3-4 hours. 
Torte the sponge cake to desired number of layers (I made 3 layers, you can make 4 if you'd like) 
Poke each layer with a fork and generously drizzle or brush the entire cake with the Three milks syrup. Refrigerate each layer separately overnight. 

Day 2

Make the Lychee Mousse and Whipped cream frosting.
Place the milk soaked sponge layer within a pan or plate with edges (the cake may be moist and the milk syrup might leak out) 
Add a thick & even layer of Lychee mousse. 
Gently and carefully place another layer of the milk soaked sponge layer. Again top it with remaining Lychee Mousse.
Place the Last layer on top and Frost the entire Cake with Whipped frosting. 

Decorate as desired and Refrigerate until serving. 


Chocolate Lace collar

You'll need
Chocolate Candy Melts - approx 1 or 1.5 cups (Make sure you use tempered chocolate)
Piping Bag
Piping tip (optional) - I used Wilton tip # 2
Parchment Paper - cut to size to wrap around the cake

Directions

1. Melt the candy melts and pour into piping bag fitted with a tip.
2. Draw desired pattern or random designs on the parchment paper.
3. Gently lift and attach one end of parchment to side of the cake making sure the bottom of parchment paper aligns with bottom of cake. Wrap around the entire cake and refrigerate until the chocolate has hardened.
4. Gently peel off the parchment and reveal the beautiful chocolate lace!


After cake cutting we sat around and talked and laughed and then danced and partied all night long with in-between snack-breaks  and just enjoyed the rest of the day ;-) Once again Happy Birthday Manish Pillai.....we enjoyed your b'day just as much as you did and here's wishing you plenty more cake, happiness and success all life long...Muah!

Wanna see some of the cakes I've made for him till now for his earlier birthdays:


Chocolate Brownie Cake with rich Chocolate Ganache (recipe not on blog)


I think I'm spoiling him with all these cakes I tell ya...next time I should make him bake me a cake ;-P 

-Manju

Jun 5, 2013

Funfetti Cake for Appu's best bud's birthday!


The month of May had been busy…super busy and for all good reasons. Which is why I hardly ever got much time to share recipes except for Instagram pics shared every now and then on Facebook and Twitter.  But we’ve been eating…yes , a lot! And I’ve been taking snaps…again A LOT! So a lot of recipes are coming your way!!

It was back to back weekend outings, friend's gatherings and lots of fun and food. One of the outings were organized by our good friends whose son was turning 2 and they wanted to have a fun celebration along with a fun trip. And I happily volunteered to get the b'day cake.  
I had a lot of ideas in mind and as usual went crazy deciding on what to make and finally decided on a colorful Funfetti cake. This cake is  super fun , very colorful and really easy to 'make from scratch'.  I think this is one of America’s top cake choice for children’s birthdays from what I've read and I'm so glad it turned out great!


He is my Lil’Appu’s best bud from 6 months of age, they both went to same daycare while we were at our old apartment and are literally chaddi buddy’s in every way  ;-P and almost behaves like twins! They copy everything each other does and it's a true delight to watch them play and they definitely had a hell lot of fun. 


As we had planned to start on our trip on a Friday evening after work, I had to make the cake on Thursday night, pack it up tightly without any frosting and take it with us to the cabin resort,  where we were gonna spend the weekend. The birthday wasn’t until Sunday, so I refrigerated the cake until then (we had made sure in advance that the resort had a fridge :-) )

I baked two 9x2" cakes so that the cake would be tall. A simple Whipped cream frosting was the easiest choice and all I had to do was take some whipping cream, powdered sugar and my electric hand mixer with me, also some sprinkles for decoration. 
On Saturday night, after a super fun day at the water park and once everyone had gone off to sleep, the ladies got down to the business of decorating the cake (it was almost midnight by then). I made the whipped cream and covered it over the cake and my friends (the b’day boy’s mommy and her friend) helped eagerly in decorating the cake with the colorful sprinkles and chocolate sprinkles.

And guess what , I had totally forgotten about writing over the cake and Avyay’s mom came up with a brilliant idea, use Bournvitta mixed in some whipped cream to form a Chocolate colored cream to write the name with. So I sifted some bournvita into a little bit of the whipped cream until I got the deep chocolate color I wanted and poured that into a Ziploc bag and snipped off the end and wrote the lil’ guys name on the cake! Genius idea I'd say...

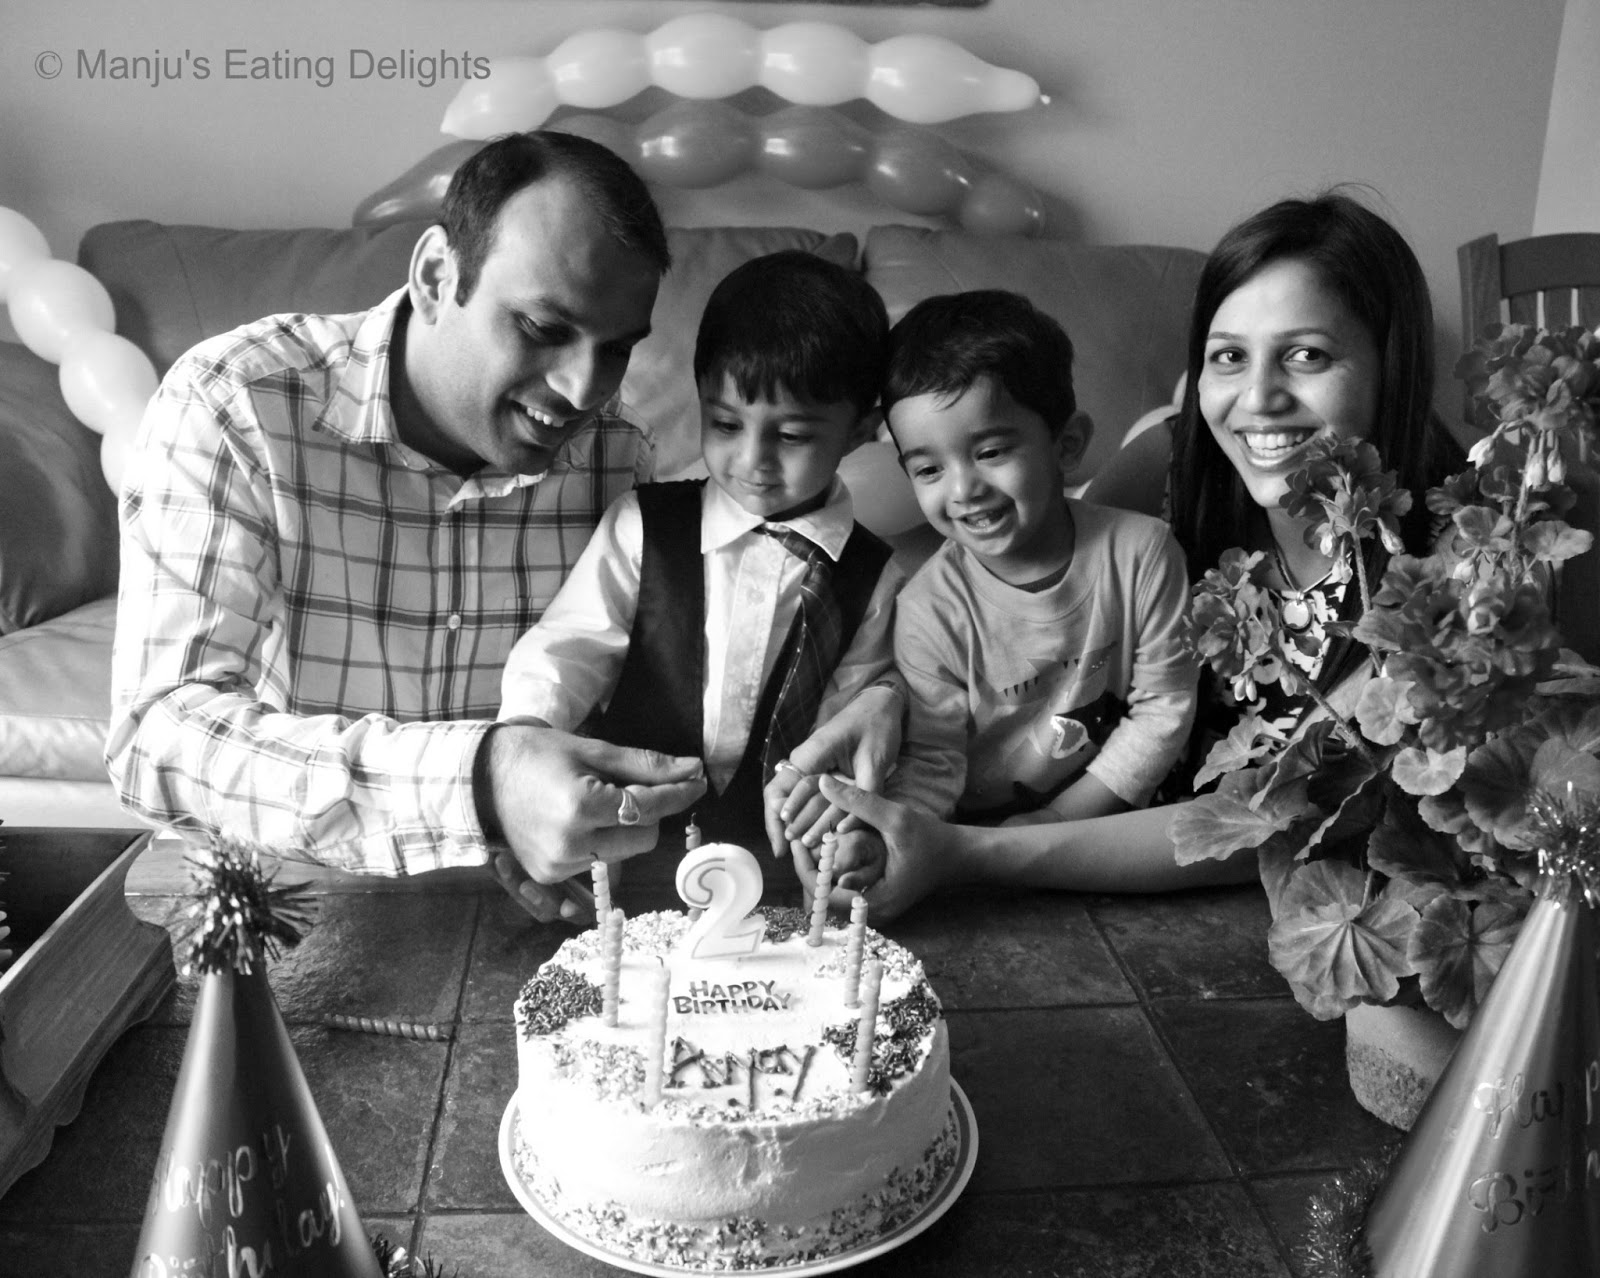
The B'day boy was so excited seeing his colorful cake the next day that he immediately dug his lil'finger into the chocolate sprinkles and licked it all up, even before we cut the cake...can you see a tiny dent in the chocolate sprinkles? ;-) The extra candles were just to add some extra light and color!


And both lil’Appu and his lil friend were totally interested in the colorful sprinkles on the cake and kept going back again and again to lick up the cream and eat the sprinkles, giving me a tough time to take a pic ;-) But I'm so glad that the cake had the effect I was hoping it would have and the boys were stuck on to it like bees on a flower!!


And for a few minutes after the cake cutting the only scene in the room was everyone licking their fingers ;-)


The cake was moist, crumbly, flavorful and slightly dense (but I guess the denseness was  due to being refrigerated for almost 2 days before we cut the cake) , but that never affected the taste of the cake. So this a good cake to make ahead. 


Happy B’day once again dear Lil’Avyay and may you and lil’Appu remain friends all life long and hope you will remember and enjoy these moments in your life someday through these pictures and stories. 

Speaking of birthdays my Lil'Appu is turning 2 next month....and I'm as usual confused with all the ideas I have in mind. I'm just crazy about fun colorful themes for kid's b'days but I already did a colorful Rainbow B'day party last year for the champ...Any ideas anyone?? 


Funfetti Cake - made from scratch!

Recipe source:  Sally's Baking Addiction
(Recipe makes One 9" x 2" cake - I doubled it for above cake)

You’ll need
All-purpose flour - 1 and 2/3 cup
Baking Powder - 1/2 teaspoon
Baking Soda - 1/4 teaspoon
Salt – a pinch or 1/4 teaspoon
Sugar - 3/4 cup
Light Brown Sugar - 1/4 cup
Unsalted Butter, melted - 1/2 cup (1 stick)
Large Egg - 1
Yogurt - 1/4 cup (plain or vanilla; or greek yogurt; or sour cream)
Milk - 3/4 cup  (cow's milk; or soy milk; or almond milk)
Vanilla extract - 1 Tablespoon
Sprinkles - 2/3 cup (I used 1/3 cup colorful sprinkles + 1/3  cup chocolate sprinkles)

Directions
1. Preheat oven to 350F degrees. Spray a 9-inch springform or baking pan (round or square) with nonstick spray. Set aside.
2. In a medium bowl, mix together flour, baking powder, baking soda, and salt. Set aside.
3. In a large microwave-safe bowl, melt butter in the microwave. Whisk in the sugars vigorously getting out any brown sugar lumps - mixture will be gritty. Whisk in egg, yogurt, milk, and vanilla extract until combined. Slowly mix in dry ingredients until no lumps remain. Batter will be thick. Slowly stir in sprinkles, but do not overmix because the sprinkles will bleed their color.
3. Pour batter into prepared cake pan. Bake for 35-40 mins or until toothpick inserted comes out clean. (If top is browning too quickly, cover the top loosely with aluminium foil around 20 mins and continue baking)
4. Once Baked, let cake sit in the cake pan for another 5 mins and slowly release the sides of the cake pan (if using springform pan) and  invert the cake onto a wire rack and allow it to cool.
5. Frost with whipped cream or vanilla buttercream and decorate as desired.


-Manju